Updated 2018-01-05.
For many people starting out with Git, having a proper overview of what is actually going on during the interaction with the software sometimes proves difficult. Fortunately there are graphical tools available to make this easier. Unfortunately these tools often seem to be overlooked. To help remedy this, I decided to write the following guide. It will walk you through a standard method for synchronizing your local Git repository with a remote Git repository using graphical tools.
The tools
On Windows I would recommend using TortoiseGit. On Linux or Mac you can use the gitk/Git Gui combo bundled by default with Git for Windows and Mac. On Linux, Git Gui and gitk may have to be installed as separate packages. The instructions below are for gitk/Git Gui, but the command names to invoke are the same for TortoiseGit. With TortoiseGit installed, a “TortoiseGit” menu will be added to the Windows right-click menu. Through this menu you will have access to all the Git actions we will do in gitk/Git Gui.
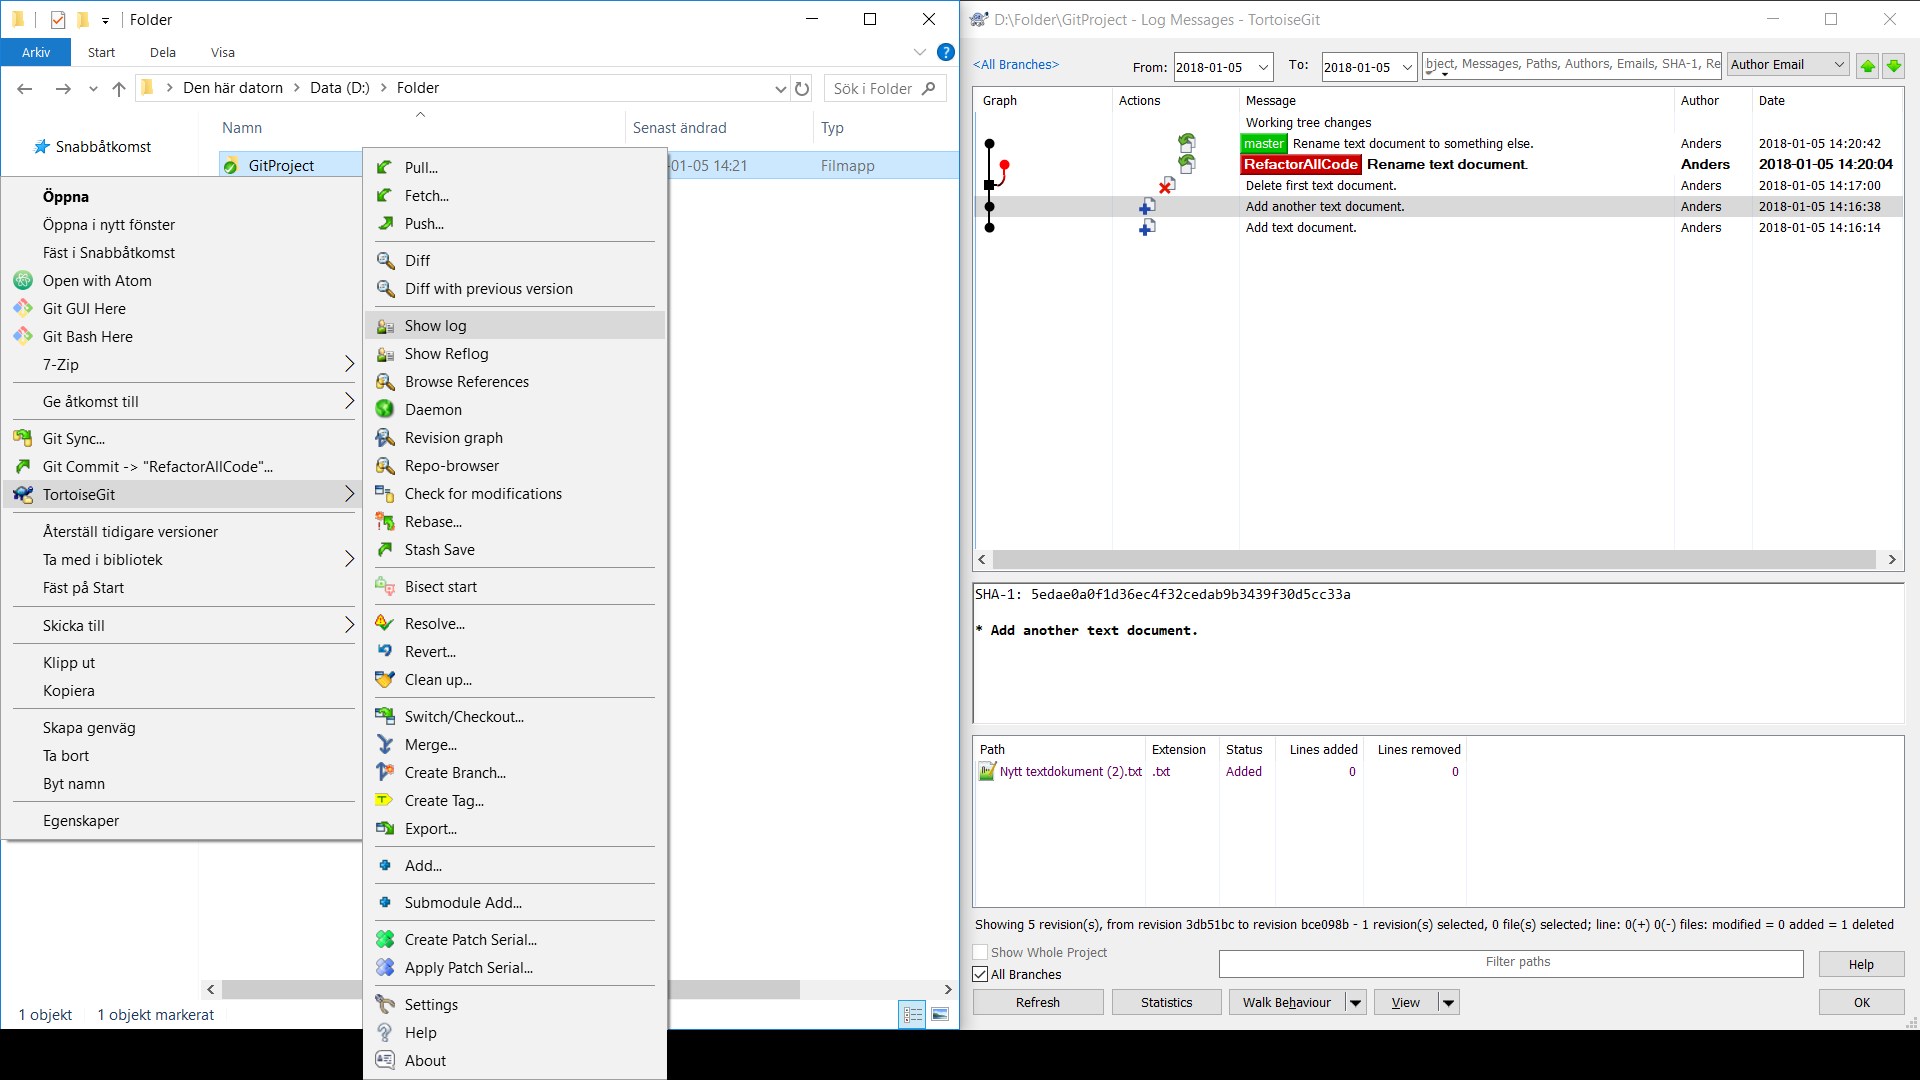
This is how the TortoiseGit tools look like:
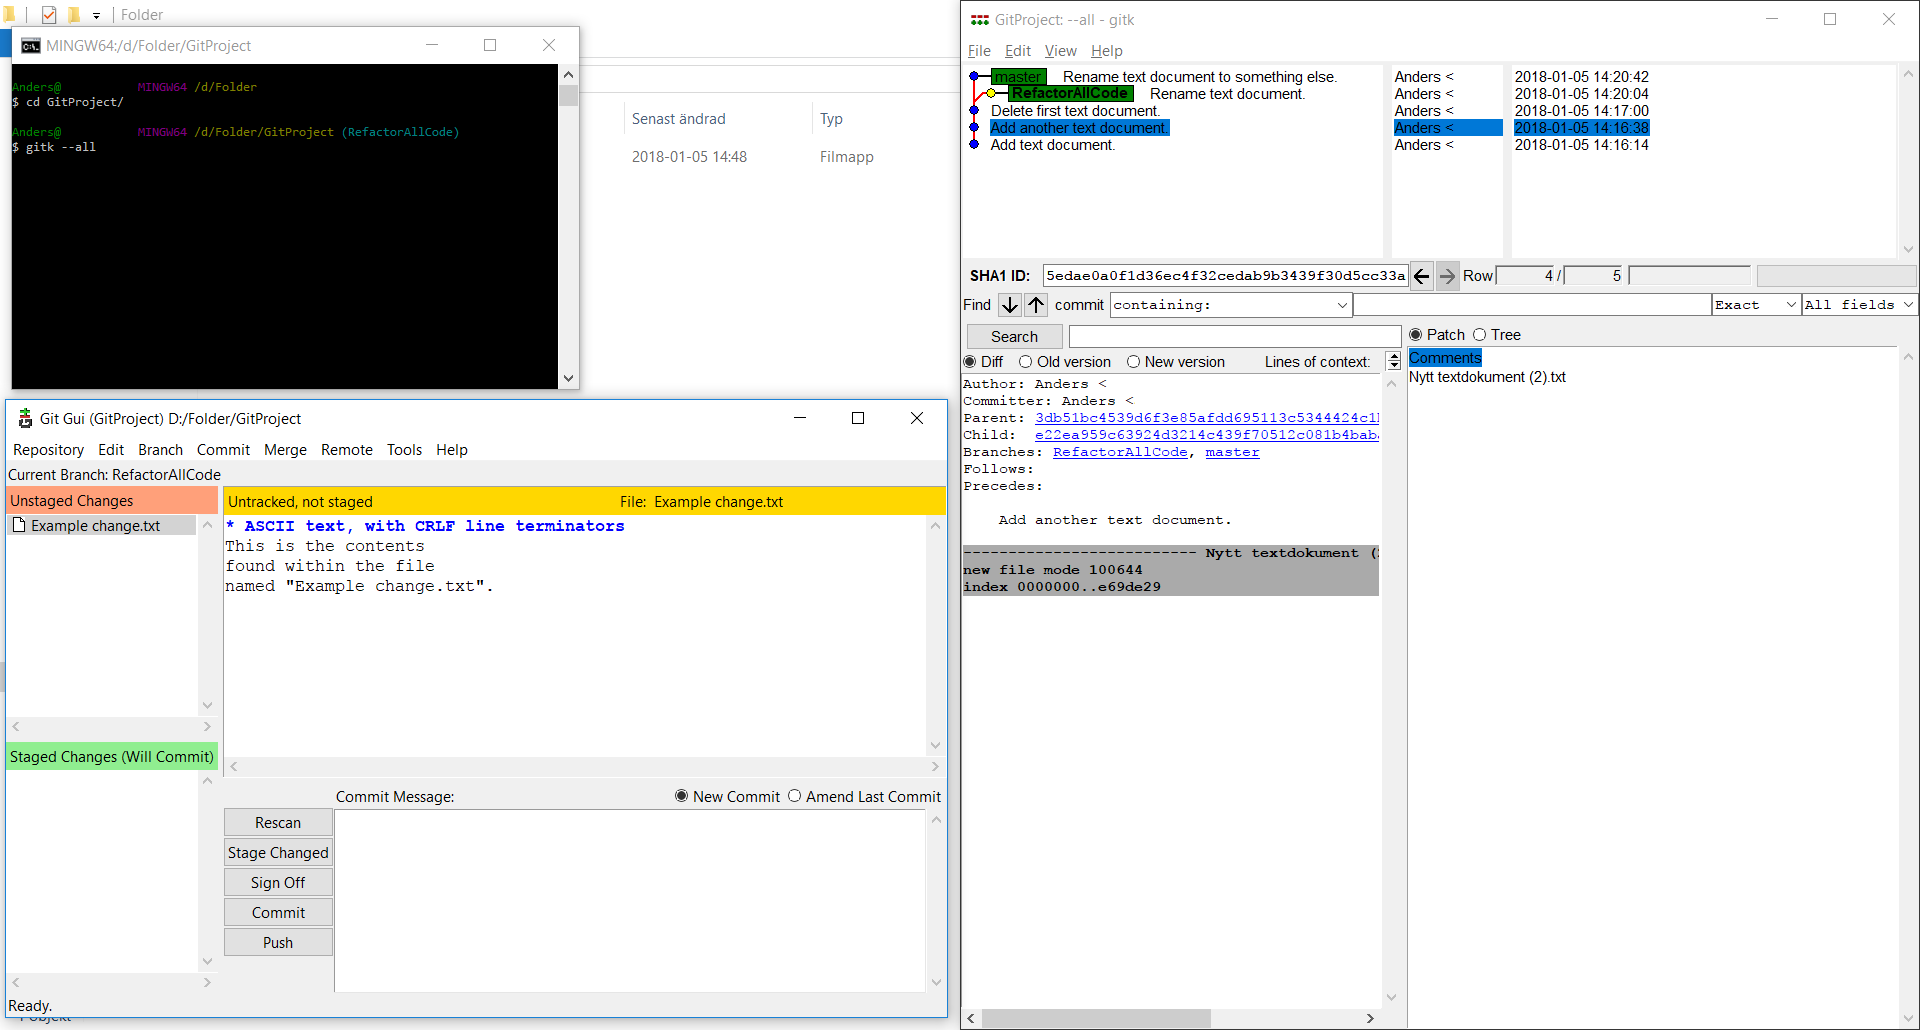
This is how the gitk/Git Gui tools look like (also visible is the Git Bash terminal for Windows that is bundled with Git):
The synchronization process
It is assumed in the instructions below that you have already cloned the remote Git repository and use the clone as your project folder. The project folder will then act as your local Git repository. If you are correctly set up there should be a .git folder available at the top level of the project folder, though this .git folder will be hidden by default in Windows.
1. Open a terminal and point it to your project folder using the “cd” command.
2. Write gitk --all in the terminal to show current local project status for all branches.
With TortoiseGit you can get an overview similar to gitk --all by choosing the “Show log” option from the “TortoiseGit” menu when you right-click on a project folder. Do not forget to tick the “All Branches” and “Show Whole Project” options in the lower left of the log window of TortoiseGit (if available).
3. In the gitk menu, go to “File->Start git gui”.
4. In the Git Gui menu, choose “Remote->Fetch from->origin” to get the latest commits from the project server. Then, press Shift+F5 in gitk to reload the local project status and take a look at what has happened. The commit your project folder is using is marked with a yellow dot and bold text.
5. If you have made local changes to the project, your options are described in step 5.1. and 5.2. below. If you have not made any changes to the project, you can skip to step 6. Use step 5.1. if you want to save the local changes you’ve made since your last commit. Use step 5.2. to discard those changes.
5.1. If any local file changes have been made which you want to keep, you have a few different options:
If the file changes should only be saved for your local reference, it may be easiest to manually make a copy of the files you’ve changed and then revert the original files back to their unmodified state (see 5.2. below). Note that this is not the most correct way to use Git, but one I’ve found to be used by many people starting out. It will do for now, you can explore other methods when you feel more comfortable with the Git workflow. More advanced options in Git for storing modified files for reference are to stash the changes or to create a new branch with them (these options also stay more true to the intended Git workflow).
If you want to permanently save your changes to the project you should make a commit. Note that if the same files have been modified by other members of your project you may get a merge conflict by doing this, so if you just want to save a local copy of your changes for reference you can avoid potential merge conflicts by using the methods mentioned above.
To make a commit, stage your changed files to commit in Git Gui (via the “Commit” menu), add a concise commit message explaining the changes you made and then press the commit button in Git Gui. For TortoiseGit, “Git Commit” is an option available directly in the Windows right-click menu, outside the “TortoiseGit” menu, when you right-click on a project folder.
5.2. If any local file changes have been made and you want to discard these changes, choose the files in Git Gui and then in the Git Gui menu “Commit->Revert Changes”. You can also choose “Branch->Reset…” in the Git Gui menu to revert all changes made since the last commit.
6. In Git Gui, choose “Merge->Local Merge…” to merge your branch to a selected branch. Usually you should merge to origin/master, which would be available as a Tracking Branch (since it tracks a remote branch). If Git complains that you have modified files and therefore cannot merge, use either instruction 5.1 or 5.2 above to resolve the problem and try merging again. Once the merge is complete, you will have the latest changes from the selected branch in your project folder. Press Shift+F5 in gitk to reload the local project status and take a look at what has happened.
7. If you want to publish your merge to other people using the same Git repository, choose “Push” in Git Gui.
Finally, remember: A synchronization a day keeps merge conflicts away. The really bad merge conflicts, at least.
Other concepts to explore
When you start to get a good grip on the basics of Git you probably want to begin playing around with local branches and the stash command to save changes for local reference.
The rebase command can be used to give a cleaner commit history.
Should the need arise to only pick one or a few commits from a branch instead of merging with it, the cherry-pick command can be used. This will allow you to skip any undesired commits found in a branch. One example where this could be useful is if there is a hotfix you need to quickly integrate in your branch. Note that cherry picking can make the commit history harder to interpret, since the project will have multiple commits introducing the same code, so use the command with care and consider the advice found here.
If you are using code inside your project folder that should be version controlled separately from the main project, e.g. if you add a library you are also working on, you may want to look into the submodule command. It will allow you to create new Git repositories as sub directories of existing Git repositories.
If you want to automatically run scripts in response to Git actions, take a look at Git hooks. It is an easy way to cut down on repetitive administrative work.

It’s important to note that different interfaces are tailored for different workflows. Some clients expose only a carefully curated subset of Git functionality, in order to support a specific way of working that the author considers effective. When viewed in this light, none of these tools can be called “better” than any of the others, they’re simply more fit for their intended purpose. Also note that there’s nothing these graphical clients can do that the command-line client can’t; the command-line is still where you’ll have the most power and control when working with your repositories.
Hi!
Thank you for the feedback. You are indeed correct that exposed functionality can vary a lot based on the clients. One should thus choose a client that suits one’s preferences. The two Git client options mentioned in this post implement enough functionality that I’ve never had to resort to the command line interface since starting using them. Combined with the graphical overviews and reduced typing needs compared with command line, I noticed that my Git usage got more efficient, which is why GUIs are my preferred method of interacting with Git. The caveat is of course, as you mentioned, that they may not be suitable for all workflows or corporate environments.